
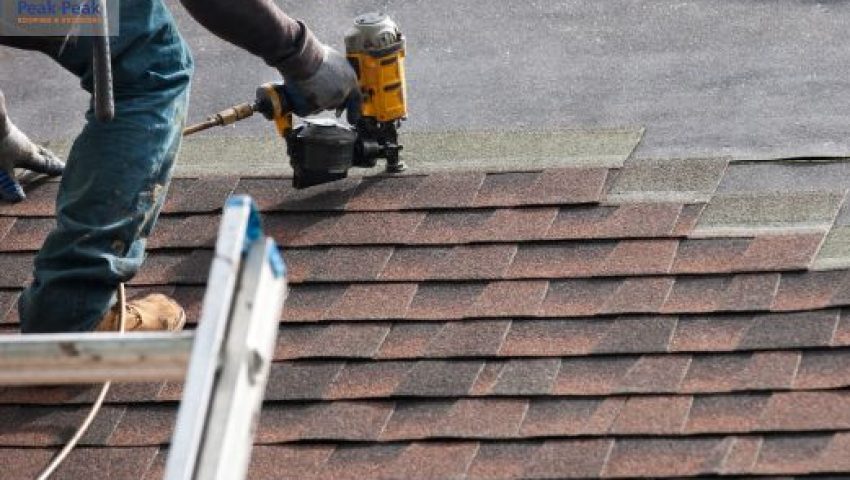
Ever wonder why a roof repair seems to last only a few seasons before another leak appears? In Colorado’s high‑UV, hail‑prone climate, the right approach matters more than a quick fix.
This guide breaks down the hidden factors that drive repair costs, shows you how to spot problems before they snowball, and offers budgeting tactics that keep your home protected without breaking the bank.
Roof repair budgeting hinges on hidden deck issues, weather timing, and proper flashing; ignoring these leads to repeat failures and higher long‑term costs.
If you’re a homeowner in Denver, Aurora, Littleton, Parker, or Centennial, you’ve likely faced a leaky roof after a storm. The frustration of paying for a repair that doesn’t hold is all too common.
What follows will give you clear, actionable insight on what truly drives repair costs and how to plan a budget that protects your roof for years to come.
Why Most Roof Repairs Fail Within Three Years of the Original Fix
In the Front Range, many homeowners assume a simple patch will hold until the next season. The reality is that the combination of freeze‑thaw cycles and UV exposure can quickly degrade a sub‑par fix.
A repair that looks solid today may hide compromised decking, mismatched flashing, or inadequate sealant, all of which accelerate wear and invite new leaks.
Common Failure Triggers
- Insufficient Deck Inspection: Overlooking rot or moisture behind shingles lets water seep, causing the patch to fail within months.
- Mismatched Materials: Using a shingle type that doesn’t match the existing roof can create stress points, especially under wind loads.
- Improper Flashing Alignment: Gaps at roof‑wall intersections often go unnoticed until a storm forces water behind the repair.
- Skipping Proper Curing: Applying sealant in cold temperatures prevents full adhesion, leading to premature cracking.
Understanding these pitfalls helps you ask the right questions before signing a contract. A thorough pre‑repair assessment can reveal hidden issues that, if addressed, turn a three‑year fix into a lasting solution.
The Hidden Damage Underneath: What Shingles Don’t Tell You About Your Decking
Most homeowners focus on the visible shingle layer, assuming that if the surface looks intact, the roof is sound. In Denver’s semi‑arid climate, the deck can suffer from hidden moisture long before shingles show wear.
Moisture intrusion, often from a tiny crack, can rot the plywood, weaken nail holding, and create a breeding ground for mold, all while the exterior appears fine.
Deck Inspection Essentials
- Moisture Mapping: Infrared scans or moisture meters can detect hidden wet spots that a visual check misses.
- Rot Spotting: Look for soft spots when probing the deck with a screwdriver; rot feels spongy and may crumble under pressure.
- Fastener Check: Corroded nails or screws indicate water exposure; replace them to restore proper deck attachment.
A proper deck evaluation often uncovers issues that, if ignored, will cause any shingle repair to fail. Investing in a thorough inspection now saves you from costly replacements later.
When Patching Costs More Than Replacement in the Long Run
A quick patch may seem like the cheapest option, but in many cases the cumulative cost of repeated fixes outweighs a full replacement. The key is to evaluate the roof’s age, material condition, and the extent of damage.
In Aurora and surrounding areas, the decision often hinges on whether the underlying deck and flashing can support a long‑term fix.
The following table compares typical costs and lifespan outcomes for patching versus full replacement in Colorado’s climate:
| Repair Approach | Average Cost (as of 2026) | Expected Lifespan |
|---|---|---|
| Patch Repair | $1,200 – $2,500 | 2–4 years |
| Partial Replacement | $4,000 – $6,500 | 8–12 years |
| Full Roof Replacement | $9,000 – $15,000 | 20+ years |
Decision Framework
- Age vs. Material Life: If the roof is older than 15 years, replacement usually offers better ROI than repeated patches.
- Damage Scope: Small localized leaks may be patched profitably, but widespread granule loss or multiple cracked shingles suggest full replacement.
- Future Weather Patterns: Anticipated hail seasons increase the risk of recurring damage on an aging roof.
Applying this framework helps you avoid the hidden expense of a patch that fails within a couple of seasons, steering you toward a solution that protects your home for the next decade.
How Weather Timing Changes Everything About Repair Material Performance
Colorado’s weather swings from sub‑zero nights to scorching afternoons, and these temperature shifts directly affect how repair materials cure and adhere. Installing a sealant in 30 °F weather can result in a brittle bond that cracks under thermal expansion.
Conversely, applying a polymer‑modified shingle during a warm, dry day ensures proper sealing and reduces the chance of premature delamination.
Seasonal Best Practices
- Temperature Thresholds: Most adhesives require a minimum of 40 °F to achieve full strength; schedule work when daytime highs exceed this mark.
- Humidity Considerations: High humidity can slow curing; aim for low‑humidity days to avoid tacky surfaces that attract debris.
- Wind Speed Limits: Strong winds can dislodge loose shingles during installation; avoid repairs when gusts exceed 15 mph.
- Post‑Repair Protection: Use temporary covers during unexpected rain to prevent water intrusion before the sealant fully cures.
Timing repairs with favorable weather not only improves material performance